I started working with Away3D 4 :)
usually I’ve heard Away3d is fat, awy3d is slow, it’s inconsistent blah blah blah.
Away3d is fully featured, easy to use, powerful, free & open source.
more than enough for me as far as an API is concerned but above all, Away3d is a teamwork.
I’m not the really the evangelist type and yet I feel some projects deserve to be promoted spontaneously.
so if you use the engine, especially if you make shitloads of money with it (if you work for an agency for example… just an example), consider giving them money.
this being said, I had never used Away3D before, I’m rather API agnostic when it comes to code, especially with 3D where everything kind of works the same. As expected, it was pretty easy to get started.
some articles by the maestro were quite informative actually.
I have been working on some 3d routines lately, like revisting the convex hull, trying to understand better the maths of spheres, planes, lines, etc. until october and the official release of molehill, I was using the native API ( \m/ ).
I was using the native API because I can’t use low level APIs like AGAL and also because I didn’t want to make the algos engine-specific. the good thing with molehill is that every engine will use more or less the same priciple namely Vertex buffers and Index buffers (normal/uvs occasionnaly) + AGAL to render them.
while studying Away3d source code, I found that there are some inconsistencies, I mean: all the tools one can need are there but they’re scattered and not organized logically (imvho). this maybe why the team is working on the Away Game Tools package, to gather everything and make it more consistent.
a sound idea :)
that’s why I’ve combined what I had and what existed into some geometric golem called TRIGA (I’m not good at names). and so far the results are … encouraging :)
to get started, I’ve done a couple of helpers, for materials and environment mostly.
when we need an environment, a skybox is usually an inexpensive way to go.
as such, Away offers a way to stack up the 6 views of a cube map and render them as a skybox.
first thing I did was to automate the process so that we can use a single image file to create a cube map.
this for instance:
public function createCubeMap( bd:BitmapData, method:int = 0 ):CubeMap
{

	var w:int = bd.width;
	var h:int = bd.height;

	var step_x:int = 4;
	var step_y:int = 3;

	var order:Array = [];
	switch( method )
	{
		case 0:

			/**
			 * __|y+|__|__
			 * x-|z-|x+|z+
			 * __|y-|__|__
			 */

			order = [ 	-1,  2, -1, -1,
						 1,  4,  0,  5,
						-1,  3, -1, -1 	];
			break;

		case 1:

			/**
			 * __|y+|__|__
			 * x-|z-|x+|z+
			 * __|__|y-|__
			 */

			order = [ 	-1,  2, -1, -1,
						 1,  4,  0,  5,
						-1, -1,  3, -1 	];

			break;

		case 2:

			/**
			 * __|y+|__
			 * x-|z-|x+
			 * __|y-|__
			 * __|z+|__
			 */
			step_x = 3;
			step_y = 4;
			order = [ 	-1,  2, -1,
						 1,	 4,  0,
						 -1, 3,	-1,
						 -1, 5, -1	];
			break;
	}

	var rect:Rectangle = new Rectangle( 0, 0, int( w / step_x ), int( h / step_y ) );
	var tmp:BitmapData = new BitmapData( int( w / step_x ), int( h / step_y ), true, 0xFF0000);

	var eMaps:Array = new Array( 6 );

	for ( var i:int = 0; i < order.length; i++ )
	{
		if ( order[ i ] != -1 )
		{

			rect.x = i % step_x * rect.width;
			rect.y = int( i / step_x ) * rect.height;

			tmp.fillRect( tmp.rect, 0xFF0000 );

			tmp.copyPixels( bd, rect, new Point(), null, null, true );

			eMaps[ order[ i ] ] = tmp.clone();

		}
	}
	return new CubeMap( eMaps[0], eMaps[1], eMaps[2], eMaps[3], eMaps[4], eMaps[5]	);
}
pretty straight forward, yet it proved useful :)
to create a cubemap you need to call the method above, pass it the bitmapdata and a method.
the method specifies how to cut the bitmapData, hereunder are the 3 most common cubemaps I’ve seen, 0 to 2 left to right:
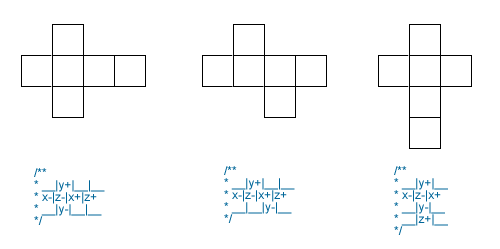
it’s possible to compact the images files by not letting any empty space, then you can add your method to cut it down.
here’s the class: CubeMapUtils
a typical use would be:
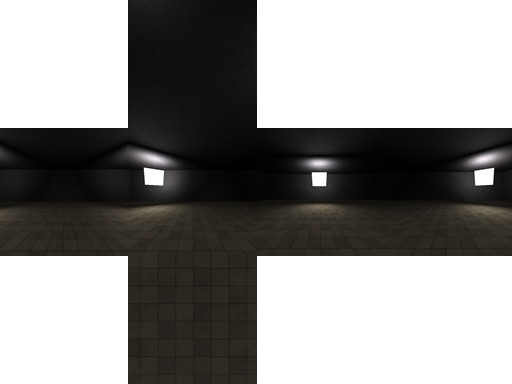
[Embed(source="../../triga/src/res/textures/cubemap_512.png")]
private var cubemapSrc:Class;
private var cubemap:BitmapData = new cubemapSrc().bitmapData;
[...]
var skybox:SkyBox = new SkyBox( CubeMapUtils.createCubeMap( cubemap, 0 ) );
view.scene.addChild( skybox );
which gives us this kind of scene (click drag ). apologies for the crappy quality of the evironment map, I’ve done it myself and it is very small.
by the way, I’ve used OGRE MAX, a super useful utility to export cubemaps and lots and lots of things, check it.
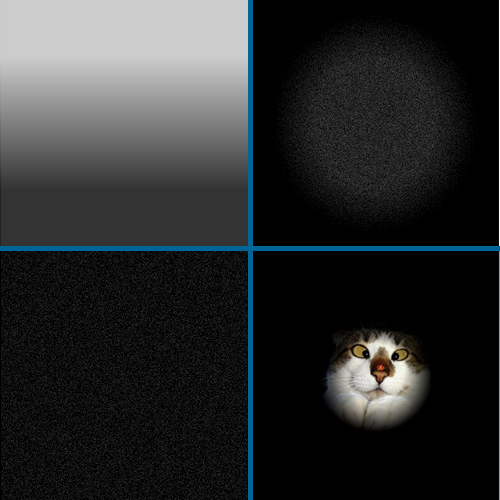
also I ‘ve done a small helper to customize the viewport, it goes like
[Embed(source = "../../triga/src/res/textures/chatquilouche.jpg")]private var bg:Class;
public function ViewHelperTest()
{
	//grain
	ViewHelper.grainyBackground( view, 1024, true, 0, 32 );

	//gradient
	ViewHelper.verticalGradient( view, 0xFFCCCCCC, 0XFF333333, true );

	//vignette
	view.backgroundImage = new bg().bitmapData;
	ViewHelper.vignette( view, 1024, false, 0, 1 );

}
which gives something like :
the class is here: ViewHelper
this was mildly interesting, then I’ve played around with a couple of materials.
in the last article I’ve posted a list of basic materials, so first thing I did was to reuse that list and here’s the result.

the MaterialHelper class is here: MaterialHelper
the picture above is obtained with this code:
ViewHelper.grainyBackground( view, 1024 );
var count:int = Math.sqrt( MaterialHelper.MAT_LIST.length );

var cylSize:Number = 100;
var margin:Number = 30;
var size:int = ( count * cylSize ) + ( ( count - 1 ) *  margin );

var i:int = 0;
for each( var material:ColorMaterial in MaterialHelper.MAT_LIST )
{

	var cylinder:Cylinder = new Cylinder( material, cylSize * .5, cylSize * .5, cylSize );

	cylinder.x = -size / 2 + ( cylSize + margin ) * ( i % count );
	cylinder.y = size / 2 - ( cylSize  + margin ) * int( i / count );

	//material.lights = lights;//create a list of lights ...

	if ( material.alpha != 1 ) MaterialHelper.createEnvrionmentMap( material, new highlight().bitmapData );

	material.smooth = false;

	addMesh( cylinder );
	i++;

}
you can check it IRL here
notice the MaterialHelper.createEnvrionmentMap method that creates an environement map on the transluscent materials. it uses the CubeMapUtils described above.
there are 2 other methods to create gradients ( MaterialHelper.horizontalGradient & MaterialHelper.verticalGradient ) see them in action here: gradients
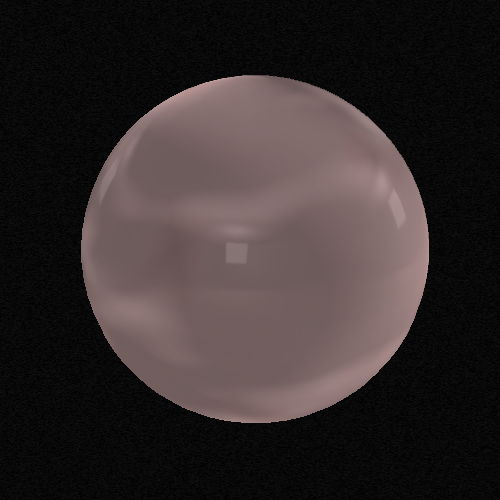
as they were too plastic-looking, I’ve tried to “sheen” them a bit.
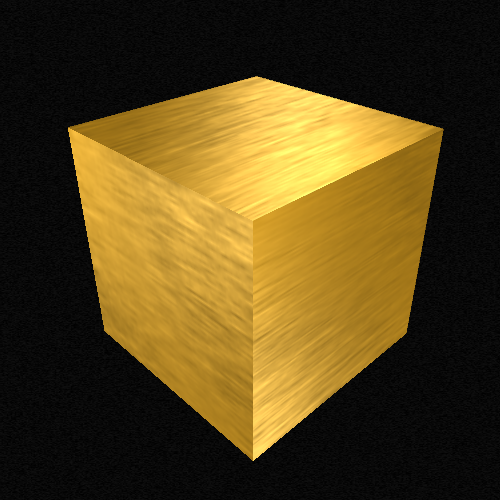
I followed a couple of tutorials on how to make procedural textures in Photoshop and came out with this small series.
here’s the world famous “brushed metal” texture:
then the “hammered”, aka “galvanized” metal:
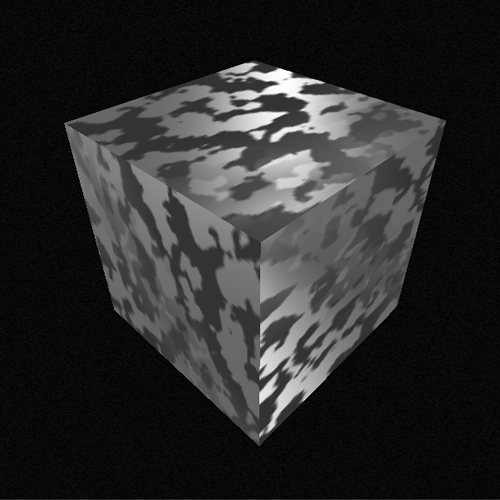
then the marble (not convinced yet by this one… )
and finally, a surprisingly good looking cardboard texture:
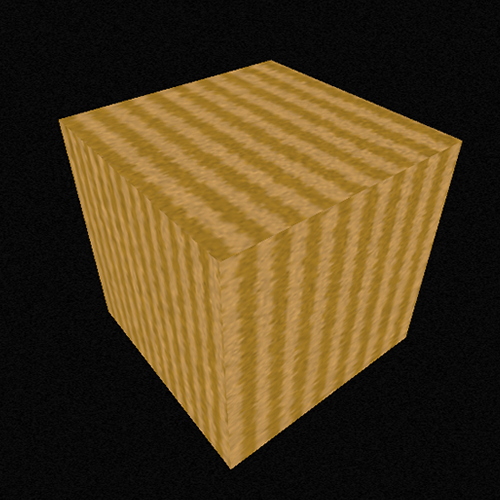
so far the method for the sheened textures above look like:
var mat:BitmapMaterial = Patine.cardboard( new ColorMaterial(0), 512, 10, 10 );

var mat:BitmapMaterial = Patine.brushedMetal( MaterialHelper.MAT_BRASS, 512, .5);

var mat:BitmapMaterial = Patine.hammeredMaetal( MaterialHelper.MAT_CHROME, 512, 30, .5 );

var mat:BitmapMaterial = Patine.marble( MaterialHelper.MAT_PEARL, 512, 100, .5 );
I’ll release the source when it will be a bit cleaner, anyway it will be needed for the next posts.
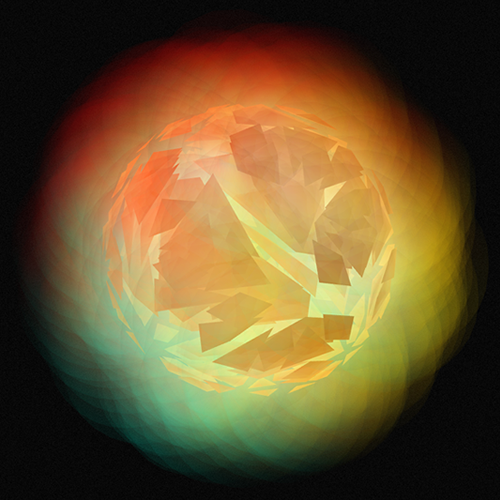
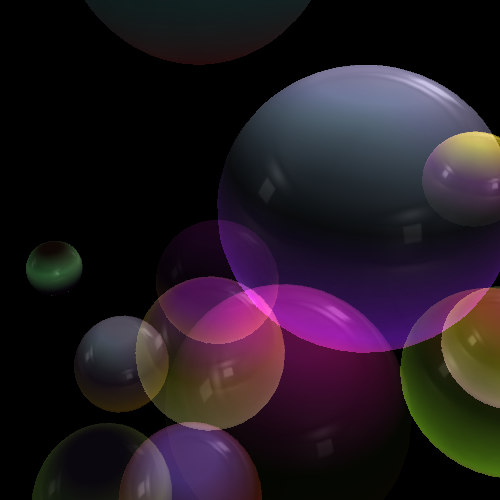
oh, and btw, the post’s cover picture is a Delaunay Tetrahedralization ( + its building circumspheres ), the equivalent of a Delaunay triangulation in 3D, more on that later.
by then,
enjoy :)
my beloved readers wrote…